How To Use Chamfer Tools: Full Guide
Introduction
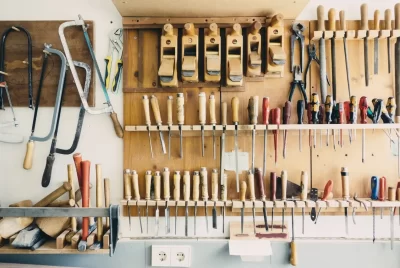
As a woodworking enthusiast, one tool that should never be missing from your workshop is the chamfer tool. Its ability to create beveled edges on wood not only enhances the aesthetics of your projects but also adds a professional touch. In this guide, I’ll walk you through everything you need to know about using a chamfer tool for wood, providing valuable suggestions and the reasons behind them.
Types of Chamfer Tools
Chamfer tools come in various types, each with its own unique features and advantages. From handheld chamfer planes to router bits, it’s essential to understand the options available:
- Handheld Chamfer Plane: This traditional tool offers precision and control. It’s great for small to medium-sized projects.

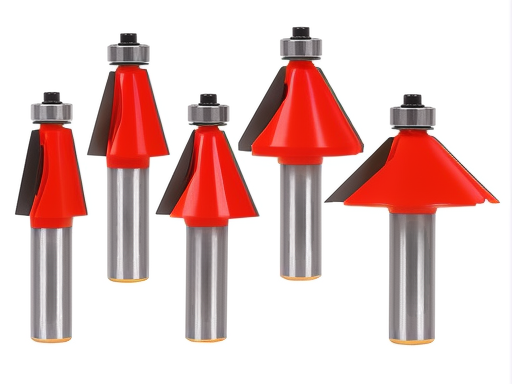
- Router Chamfer Bit: Perfect for larger projects, the router chamfer bit is efficient and ensures consistent results.
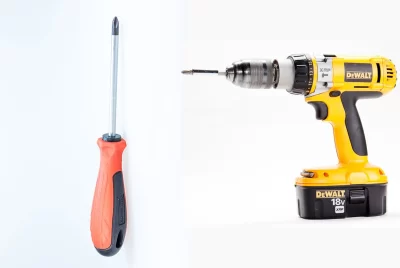
- Chamfer Bit for Power Drill: An excellent option for those who already own a power drill, this bit is versatile and easy to use.

Selecting the right type depends on the size of your project, the level of precision needed, and your comfort with the tool.
Selecting the Right Chamfer Tool
Before making a purchase, consider these factors:
- Project Size: Determine the size of your woodworking project to choose a chamfer tool that suits it.
- Material: Different chamfer tools work better with specific wood types. Consider the material you’ll be working with.
- Chamfer Angle: Some chamfer tools allow you to adjust the angle. Make sure it matches your desired chamfer.
- Budget: Chamfer tools come in various price ranges. Find one that meets your budget while still offering good quality.
Safety Measures
Safety is paramount when using any woodworking tool, including the chamfer tool. Prioritize the following:
- Eye and Ear Protection: Wear safety goggles and ear protection to safeguard against wood chips and noise.
- Secure the Wood: Ensure the wood is properly secured before chamfering to prevent accidents.
- Proper Grip: Hold the chamfer tool firmly but without straining your hands.
Preparing the Wood
To achieve the best results, prepare the wood before using the chamfer tool:
- Smooth the Edges: Ensure the edges of the wood are smooth and free from knots.
- Measure and Mark: Use a ruler and pencil to mark the areas you want to chamfer. This ensures precision.
Using the Chamfer Tool
Now, let’s dive into how to use the chamfer tool:
- Secure the Wood: Place the wood on a stable surface and ensure it’s firmly held in place.
- Position the Chamfer Tool: Hold the chamfer tool at the desired angle, aligning it with the marked area on the wood.
- Apply Steady Pressure: Gently push the chamfer tool along the edge of the wood, applying consistent pressure.
- Check Progress: Periodically check the chamfered edge to ensure it’s uniform and meets your desired angle.
- Smooth Any Imperfections: If you notice any imperfections, use sandpaper to smooth them out.
Common Mistakes to Avoid
Even with the right technique, beginners often make these mistakes:
- Inconsistent Pressure: Applying uneven pressure results in an uneven chamfered edge.
- Incorrect Angle: Failing to maintain a consistent angle leads to asymmetrical results.
- Skipping Sanding: Neglecting to smooth the chamfered edge can leave rough spots.
Finishing Touches
After chamfering, it’s essential to add some finishing touches:
- Sanding the Chamfered Edges: Use fine-grit sandpaper to create a smooth and polished finish.
- Apply Wood Finish: Applying a wood finish enhances the look and protects the chamfered edges.
Maintenance and Care
To keep your chamfer tool in top shape:
- Clean after Use: Remove wood chips and dust from the tool after each use.
- Store Properly: Store the chamfer tool in a dry, clean place to prevent rust and damage.
Chamfer Tool Accessories
Consider these accessories to complement your chamfer tool:
- Woodworking Vise: Holds the wood securely in place while you work.
- Wood Glue: Use it to fix any loose pieces of wood before chamfering.
Benefits of Chamfering
Chamfering offers several benefits:
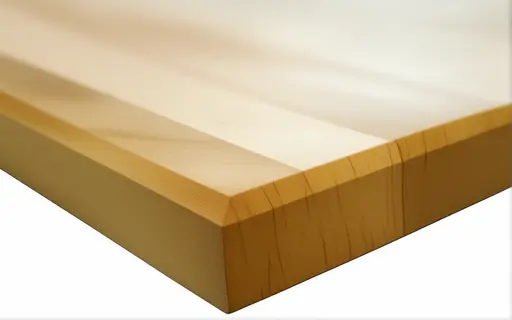
- Aesthetic Enhancement: Chamfered edges give your projects a professional and finished look.
- Safety: Chamfering eliminates sharp edges, making the wood safer to handle.
When to Hire a Professional
In complex projects, it’s wise to seek professional woodworking assistance to ensure precise chamfering.
Frequently Asked Questions
Q1. Which chamfer tool is best for beginners? A handheld chamfer plane is a great choice for beginners due to its ease of use and precision.
Q2. Can I use a chamfer tool on materials besides wood? While chamfer tools are primarily designed for wood, some specialized tools can work with other materials such as plastic or soft metals.
Q3. Is it possible to achieve multiple chamfer angles on the same workpiece? Yes, with adjustable chamfer tools or chamfer guides, it’s possible to create multiple chamfer angles on the same workpiece.
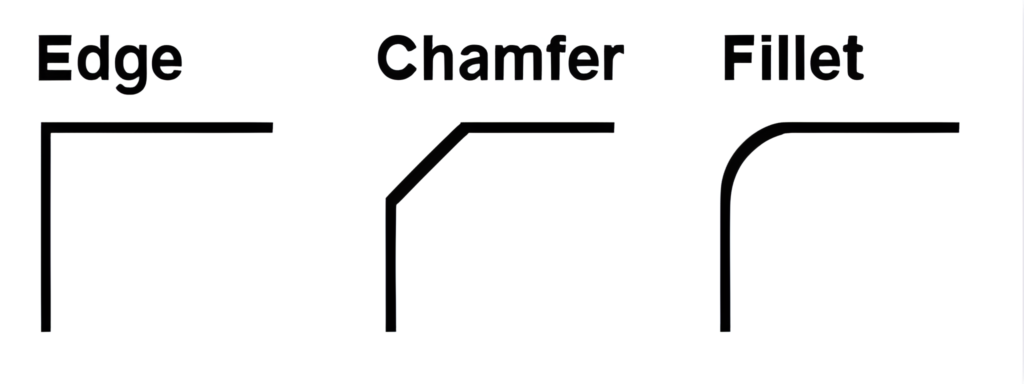
Q4. What’s the difference between a fillet and a chamfer? A fillet creates rounded edges for comfort and aesthetics, while a chamfer is a beveled edge used for assembly, reducing sharpness, or adding unique design elements to your project.
Q5. How do chamfers enhance joinery in woodworking projects? Chamfers create a beveled edge that allows for seamless joinery, providing a stronger and more attractive connection between wood pieces.
Summary
A chamfer tool is a woodworking enthusiast’s secret weapon for achieving smooth, safe, and professional-looking edges in woodworking projects. It comes in various types, including handheld tools, benchtop machines, and router bits, each catering to different project sizes and requirements. Chamfering not only enhances aesthetics but also improves safety by eliminating sharp edges, making assembly easier and more precise. Choosing the right tool depends on factors like material type, thickness, and adjustable settings.
Proper usage involves adhering to safety precautions, securing the workpiece, and maintaining a steady pace. Regular maintenance, such as cleaning and sharpening, ensures the tool’s longevity. A chamfer tool has distinct advantages compared to other woodworking tools like beveling tools, providing consistent results. It finds diverse applications in DIY projects, adding both functionality and elegance to various woodworking pieces.
Budget-friendly options are available, making chamfer tools accessible to woodworkers at any level. In conclusion, a chamfer tool is an essential addition to any garage workshop, offering versatility, precision, and a professional touch that elevates woodworking projects to the next level. Happy chamfering!