Claw Hammer Usage Tips & Techniques
When you’re looking to drive a nail home, whether it’s hanging a picture frame or piecing together a birdhouse, the claw hammer is your go-to tool. But, there’s more to wielding this handy implement than meets the eye. Let’s hammer down the basics so you can nail every project with confidence.
Key Takeaways: Hammering Down the Essentials
- Choosing the right hammer is crucial for both effectiveness and safety.
- Proper grip and swing technique can greatly improve your hammering.
- Starting nails correctly and blunting tips can prevent wood splitting.
- Regular maintenance and safety gear are non-negotiable for hammer use.
- Understanding different types of hammers ensures you use the right one for the job.
Selecting the Right Hammer for the Job

First things first, you’ve got to pick the right tool. Not all hammers are created equal, and using the wrong one can turn a simple task into a real headache.
Comparing Hammer Types and Their Uses
While the claw hammer is a versatile star, sometimes you need a different type. For example, a tack hammer is great for delicate work like hanging posters without damaging walls. On the other hand, a sledgehammer is your best friend for heavy-duty demolition.
Evaluating Weight and Balance for Efficiency
Most importantly, the weight and balance of your hammer should feel comfortable in your hand. A hammer that’s too heavy will tire you out, while one that’s too light won’t get the job done.
Understanding Claw Shapes and Handle Materials
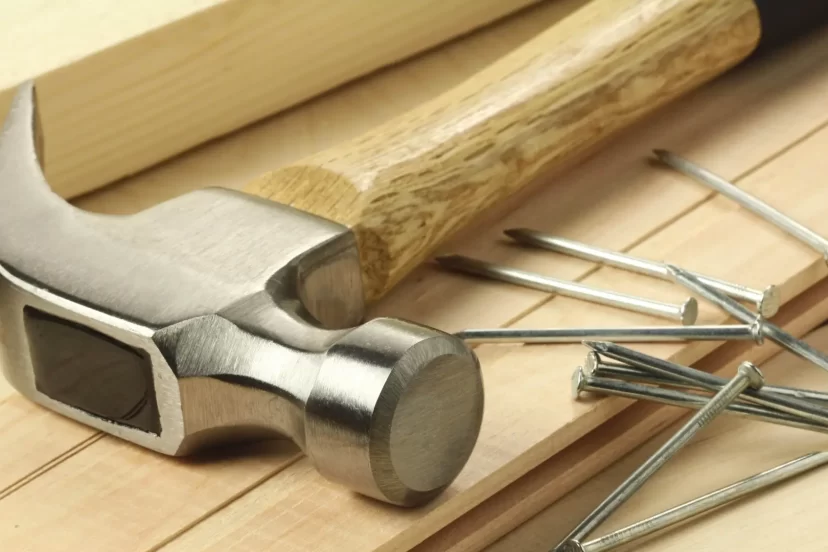
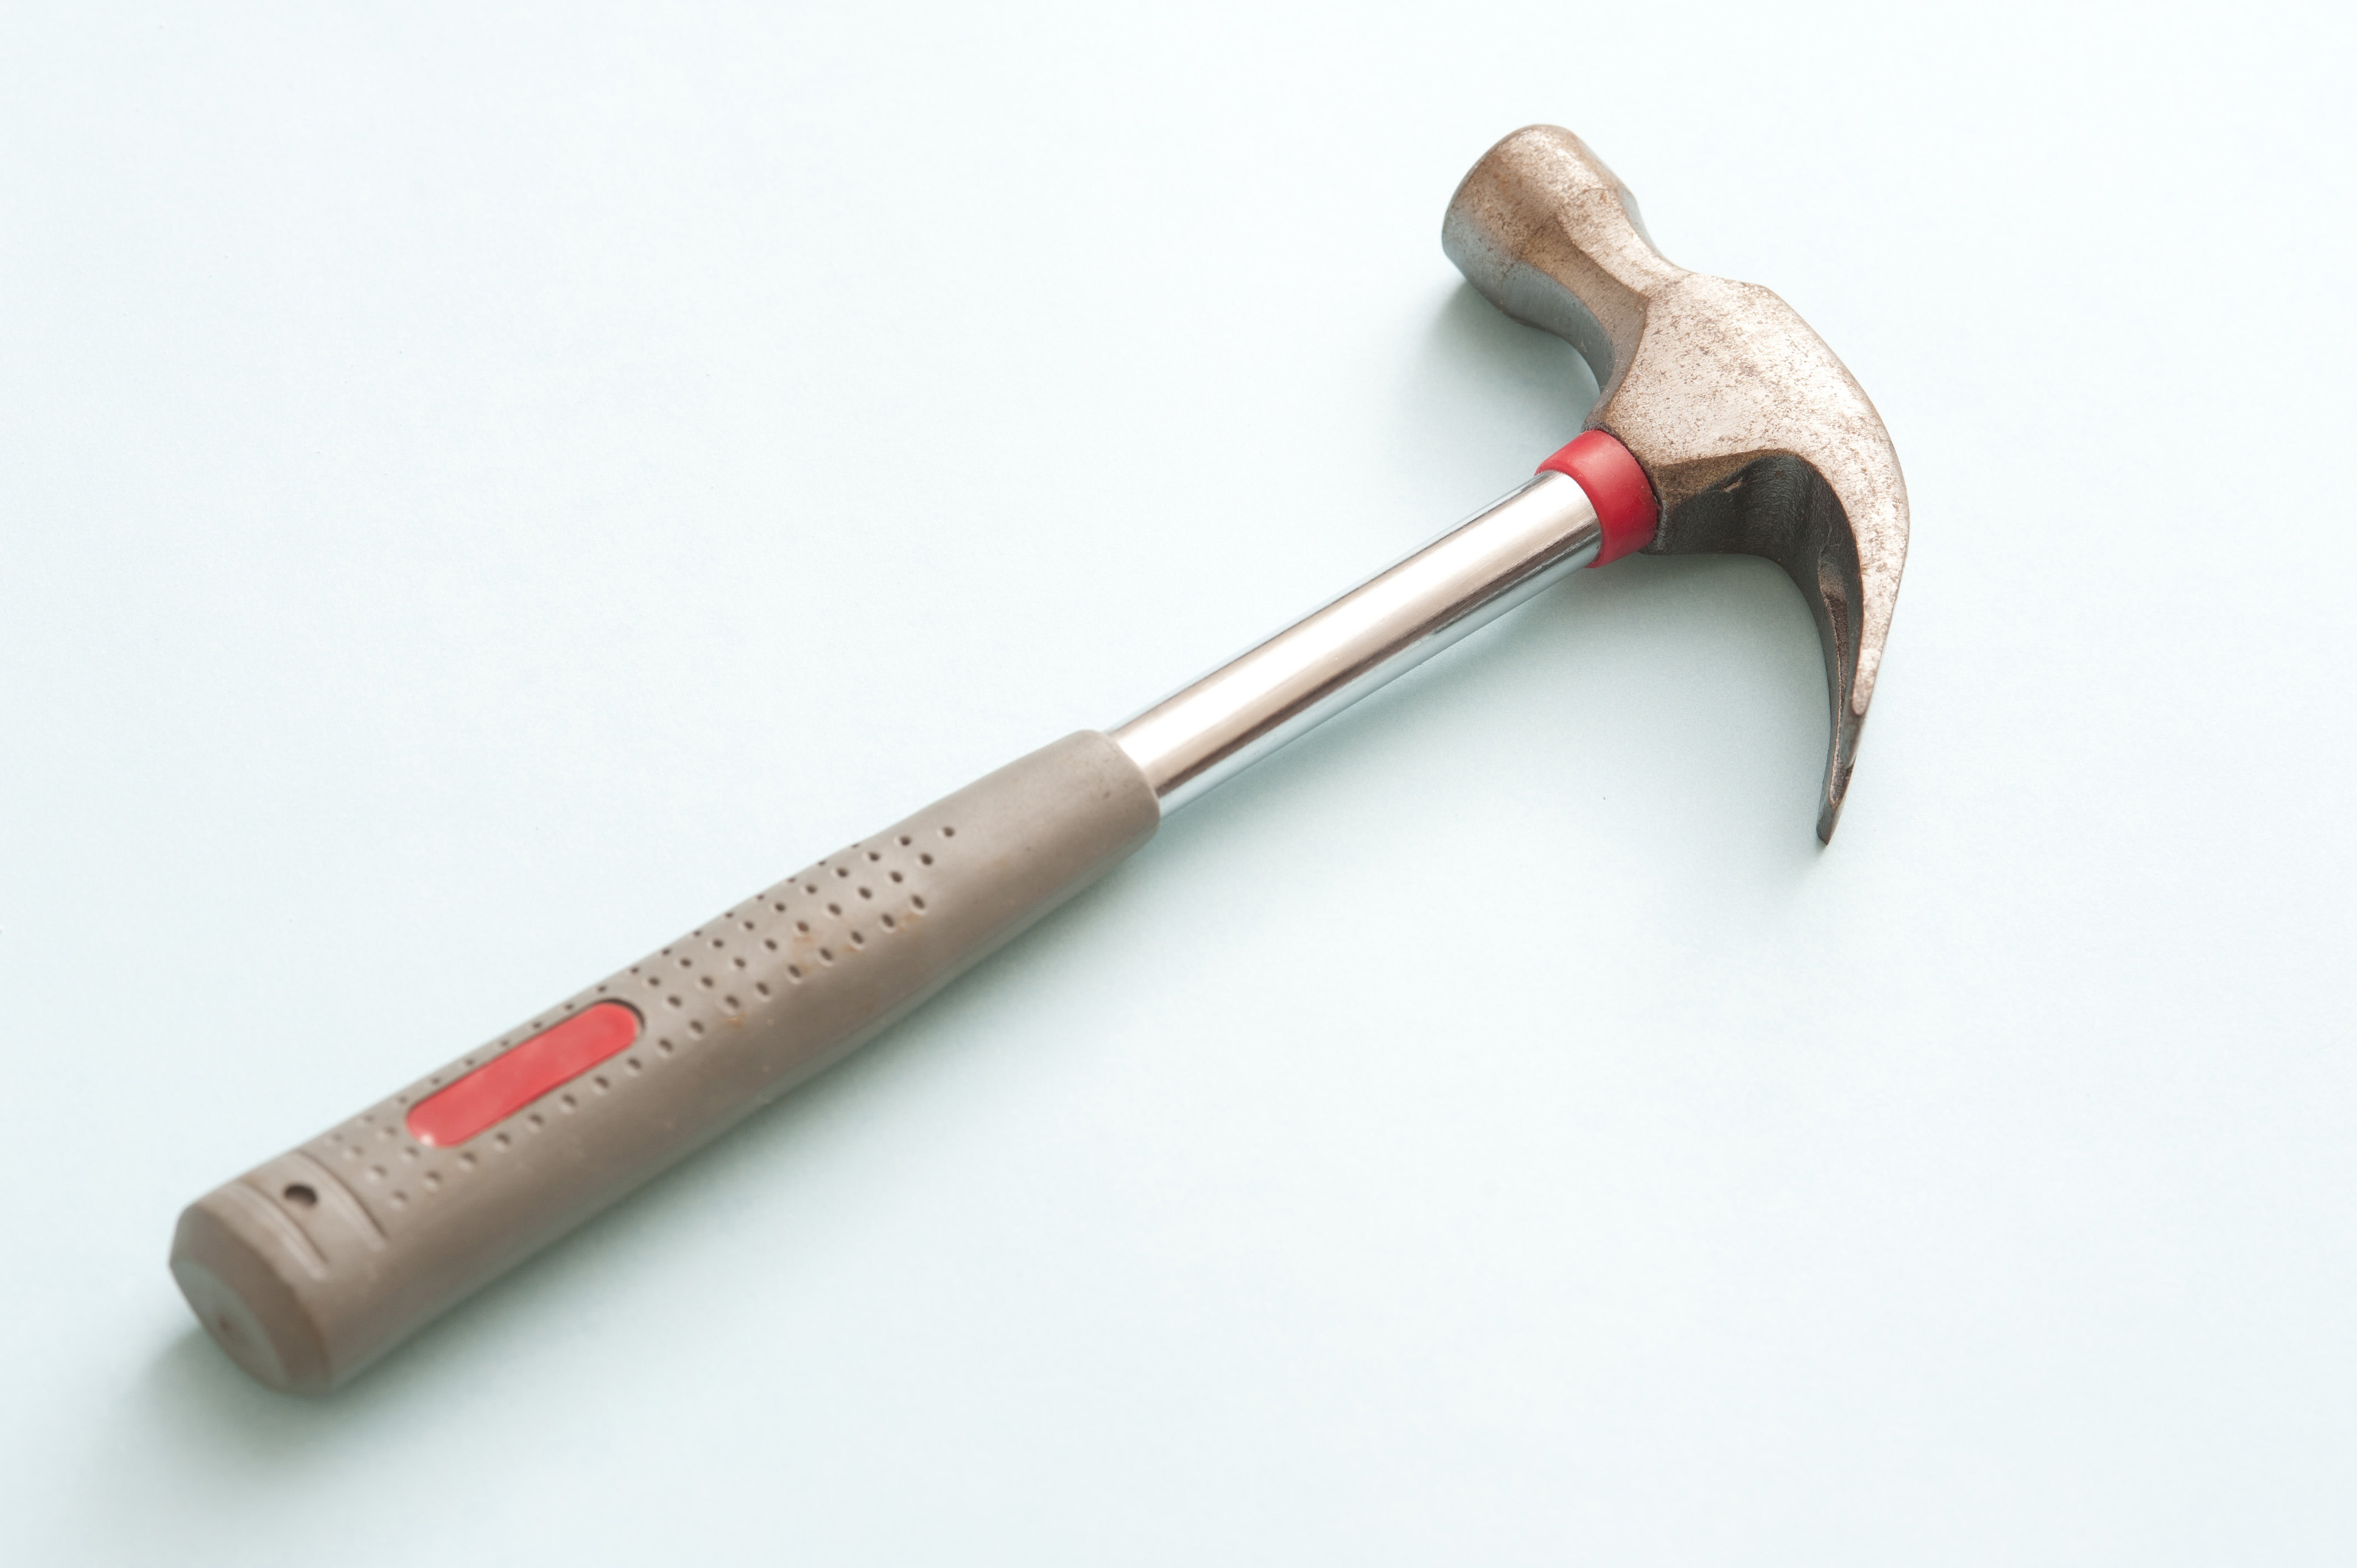
The claw hammer’s curved claw is perfect for removing nails, but if you’re doing more prying and demolition, a straight claw might be better. And when it comes to handles, wood absorbs shock well, but steel or fiberglass handles are more durable.
Foundations of Hammer Handling

Now, let’s talk about how to hold your hammer. It’s all about control and power, and that starts with your grip.
Gripping Techniques for Maximum Impact
For the most control, grip the hammer near the end of the handle. Choking up—holding it closer to the head—reduces your power and can lead to sore wrists.
Motion Mechanics: How to Swing a Hammer
Swinging a hammer is all about elbow motion. Keep your wrist straight and let your elbow do the work. This technique gives you more control and helps prevent injury.
Nail Driving Mastery

Driving nails might seem straightforward, but there’s a knack to it. Follow these steps, and you’ll be sinking nails like a pro in no time.
Starting Off: Positioning and First Strikes
Picture this: You’re about to hang your first piece of drywall. You position the nail and give it a gentle tap to set it in place. Then, with a firm swing, you drive it home. That initial tap is key—it keeps the nail from dancing away and helps you maintain accuracy.
Ensuring Accuracy: How to Hit the Nail Squarely
Accuracy is crucial. Hitting the nail at a wrong angle can bend it or damage your material. Therefore, always aim to strike the nail head squarely.
Advanced Techniques: Blunting Nails to Avoid Splits
Here’s a pro tip: If you’re working with delicate wood, blunt the nail tip by tapping it on a hard surface before driving it. This prevents the nail from acting like a wedge and splitting the wood.
Safety and Maintenance Best Practices
Before we get into the nitty-gritty of hammering technique, let’s talk safety and maintenance. Because let’s face it, a well-maintained tool is a safe tool.
Inspecting Your Hammer: When to Clean, When to Repair
- Check your hammer before use. Look for a loose head or splintering handle.
- Clean your hammer regularly to prevent rust and maintain grip.
- If the head is loose or the handle is damaged, it’s time for a repair or replacement.
Protective Gear: Eye Safety and Proper Attire
Remember the time a wood chip flew off and hit my buddy’s eye? Since then, I never start a project without putting on safety glasses. It’s a simple step that can save you from a world of hurt.
Consistent Accuracy: Practicing Precision and Focus
Concentration is key. Every swing should be deliberate and focused. This not only improves your accuracy but also keeps you safe.
Demystifying Hammer Types
Besides the trusty claw hammer, there are a few other types you should know about. Each has its unique purpose and knowing when to use which can make all the difference.
Distinctive Features of Common Hammer Variants
For instance, a ball peen hammer, with its rounded end, is perfect for metalwork. Meanwhile, a mason’s hammer is a must-have for chipping away at brick or stone thanks to its chisel-like end.
When to Choose a Framing Hammer Over a Claw Hammer
If you’re working on a construction project, a framing hammer with a heavier head and a waffle-faced design can help you drive large nails into framing lumber more effectively than a standard claw hammer.
When Things Go Wrong: Troubleshooting Common Issues
Even with the best techniques, sometimes things don’t go as planned. Here’s how to troubleshoot some common hammering problems.
Common Mistakes and How to Avoid Them
- Holding the hammer too close to the head can cause you to miss the nail. Always grip the handle near the end.
- Swinging with just your wrist instead of your elbow can lead to a lack of control. Keep your wrist straight and use your elbow.
- Using a hammer that’s too heavy or too light for the job can cause fatigue or insufficient force. Choose the right weight for the task.
Alternative Methods for Difficult Angles and Surfaces
When you’re faced with an awkward angle or a hard-to-reach spot, consider using a nail holder or needle-nose pliers to hold the nail in place while you hammer. This can help prevent banged fingers and ensure a more accurate strike.
FAQ: Answering Your Top Claw Hammer Queries
Now, let’s address some frequently asked questions to help clarify any lingering doubts about using claw hammers.
How do I choose the best hammer for concrete nails?
For concrete nails, you’ll want a hammer with a bit more heft. A drilling hammer or a club hammer, which are designed for striking chisels and punches, would be a better choice than a standard claw hammer.
Can I use a claw hammer for a project designed for a mallet?
While you can, it’s not ideal. A mallet is designed to distribute force more evenly and is less likely to damage delicate surfaces. Use a claw hammer for nails and a mallet for tasks like assembling furniture without leaving marks.
What are some signs that I’m using my hammer incorrectly?
- If you’re frequently bending nails, you might not be hitting them squarely.
- Experiencing wrist or elbow pain can indicate poor swing technique.
- A hammer that constantly slips could mean it’s time to replace the handle or wear gloves for better grip.
What’s the difference between a curved-claw and a ripping-claw hammer?
A curved-claw hammer is designed for removing nails with minimal damage to the wood, while a ripping-claw hammer is better suited for demolition and prying boards apart.
How can I prevent wood splitting while hammering nails?
- Blunt the nail tip before driving it into the wood.
- Choose the right size nail for the thickness of the wood.
- Consider drilling a pilot hole, especially for hardwoods or near the end of a board.
In conclusion, mastering the use of a claw hammer is about understanding its design, selecting the right type for the job, perfecting your grip and swing, and practicing safety and maintenance. With these tips and techniques, you’ll be well on your way to becoming a hammering pro, capable of tackling any project that comes your way.


