Complete Guide to Nut Splitting Techniques & Tools
Key Takeaways: Nut Splitting Made Simple
- Understanding the basics of nut splitters and their operation.
- Distinguishing between manual and hydraulic nut splitters.
- Identifying when nut splitting is the preferred method.
- Steps to create your own DIY nut splitter.
- Ensuring safe operation and maintenance of your nut splitting tools.
Crack It Open: The Basics of Nut Splitters
Have you ever faced a stubborn nut that just won’t budge? You twist, turn, and grunt, but it’s as immovable as a mountain. That’s where nut splitters come in – they’re the unsung heroes in your toolkit, ready to tackle the toughest nuts with precision and ease.

Manual vs. Hydraulic: Choosing Your Splitter
When it comes to nut splitting, you’ve got two main choices: manual or hydraulic. Manual nut splitters are compact and handy for quick jobs, while hydraulic ones pack a punch for those larger, more stubborn nuts. So, how do you choose? Think about the size of the nuts you’re dealing with most often and how much elbow grease you’re willing to put in.
Why Split When You Can Unscrew?
Sometimes, unscrewing a nut just isn’t an option. Maybe it’s rusted over, or perhaps it’s so tightly fastened that no amount of turning will loosen its grip. That’s when nut splitting shines. It’s the non-negotiable method for when all else fails. Besides that, it’s a real time-saver, preventing damage to the bolt and surrounding materials.
The Right Tool for the Job

Before you dash off to buy a nut splitter, let’s talk about what to look for. You’ll want to consider:
- The size of nuts you’ll be splitting.
- The frequency of use.
- Your budget.
- The space you have to work in.
These factors will guide you to the nut splitter that fits your needs like a glove.
Brand Matters: Top Nut Splitter Picks
When it comes to nut splitters, brands like Tekton and Gearwrench have made a name for themselves. They offer durability and reliability that you can trust, which is crucial when you’re dealing with tough nuts.
The DIY Route: Crafting Your Own Nut Splitter
If you’re feeling adventurous and have a knack for DIY projects, making your own nut splitter can be both rewarding and cost-effective. You’ll need a few materials, some basic tools, and a bit of patience, but the end result is a custom tool that’s tailored to your specific needs.
Gather Your Materials
For this project, you’ll need:
- A sturdy bolt – the heart of your nut splitter.
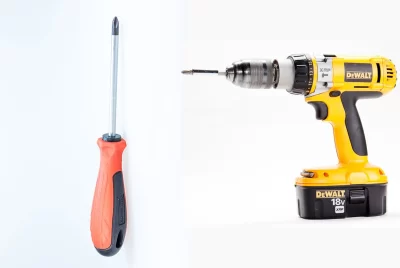
- A high-speed steel (HSS) bit – this will serve as your cutting edge.
- A drill – to create the initial hole for your HSS bit.
- Welding equipment – to bring all the pieces together securely.
Step-by-Step: Building Your Nut Splitter
Building your nut splitter is a straightforward process:
- Start by selecting the right bolt – it should be sturdy and long enough to handle the nuts you’ll be splitting.
- Drill a hole at one end of the bolt. This is where your HSS bit will sit.
- Sharpen your HSS bit to a fine point. This will be the blade that splits the nut.
- Weld the bit into place, ensuring it’s secure and aligned.
And there you have it – your very own nut splitter!
Stay Safe: Nut Splitter Operation
Safety first! Always wear protective gear when using nut splitters. Goggles and gloves are a must to protect your eyes and hands from flying metal shards.
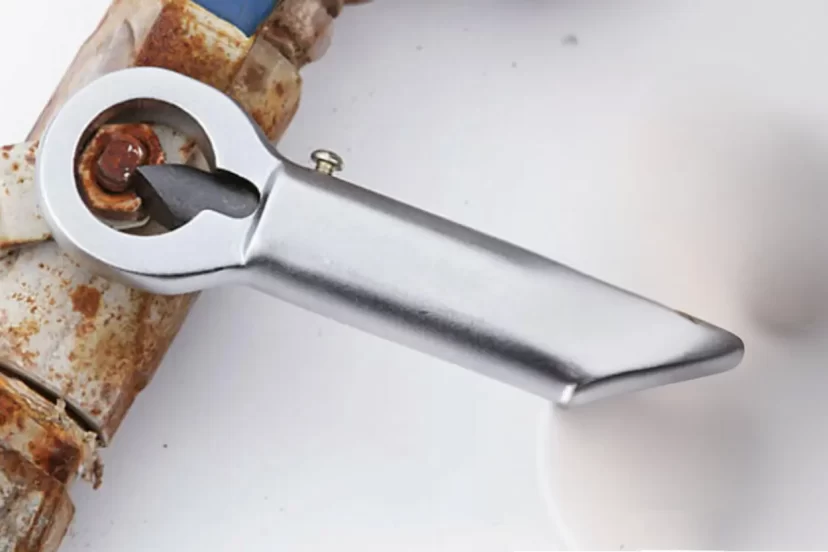
Manual Nut Splitter 101
Using a manual nut splitter is simple:
- Position the splitter on the nut.
- Turn the screw until the blade presses against the nut.
- Keep turning until the nut cracks open.
It’s like opening a walnut, but with metal.
Hydraulic Power: Splitting with Ease
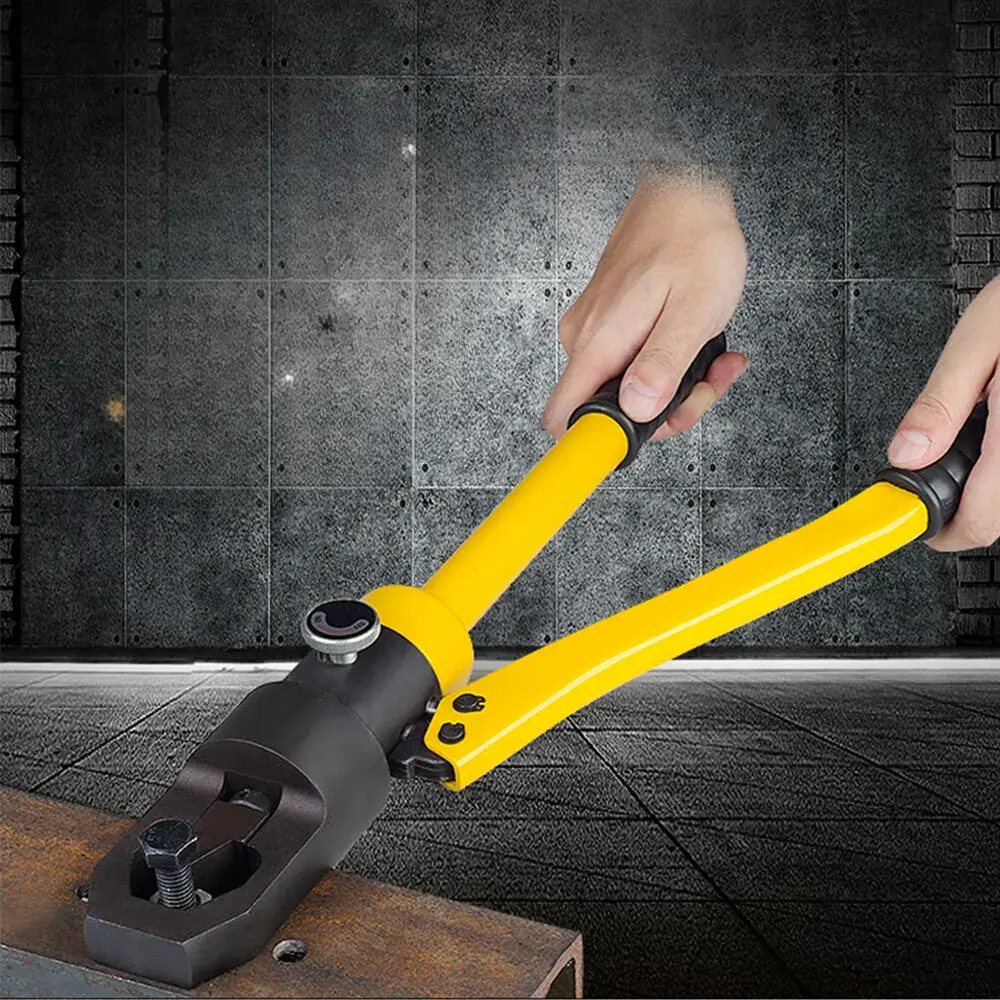
Hydraulic nut splitters are the heavy lifters of the nut splitting world. They use hydraulic pressure to drive the blade into the nut, requiring less physical effort from you.
Maintenance Is Key
To keep your nut splitter in top shape, you’ll need to:
- Clean it after each use.
- Keep the blade sharp and rust-free.
- Check for any loose parts or damage.
A well-maintained tool is a long-lasting tool.
When Trouble Strikes: Troubleshooting
Even the best tools can run into issues. If your nut splitter isn’t performing as expected, check for dull blades, misalignment, or hydraulic fluid levels if you’re using a hydraulic model.
Remember, the key to successful nut splitting is choosing the right tool, using it safely, and keeping it well-maintained. With these tips in hand, you’re ready to tackle any nut that comes your way.
Advanced Techniques: Splitting the Stubborn Ones
Most importantly, when you encounter a nut that’s rusted or seized, you need a strategy. Here’s what to do:
- Apply penetrating oil and let it soak in to loosen the nut.
- Use a torch to heat the nut, expanding it slightly and breaking the rust.
- Then, bring in your nut splitter to finish the job.
This combo of heat and penetrating oil works wonders on even the most stubborn nuts.
Thinking Outside the Nut: Other Uses for Nut Splitters
Besides splitting nuts, these versatile tools can also be used to:
- Clip off small bolts or screws that are too damaged to unscrew.
- Break chains or padlocks in emergency situations (but only when you have the right to do so).
Therefore, a nut splitter can be an unexpected problem-solver in various scenarios.
FAQs Unraveled: Your Nut Splitting Questions Answered
Let’s clear up some common queries:
Can nut splitters be used on any size nut?
While nut splitters come in various sizes, each tool has its limits. Always check the specifications to ensure it fits the nut you’re working with.
Are there any nut materials that should not be split with a nut splitter?
Hardened nuts or those made from very tough alloys might damage the tool. When in doubt, consult the manufacturer’s guidelines.
What is the lifespan of a typical splitter?
With proper care, a nut splitter can last for years. Regular maintenance and correct use are key to its longevity.
How do I know if a nut splitter blade needs to be sharpened or replaced?
If you notice the nut splitter is struggling to cut as efficiently as before, it’s time to sharpen or replace the blade.
Can a DIY nut splitter be just as effective as a commercially purchased one?
Absolutely! A well-crafted DIY nut splitter, made with the right materials and techniques, can rival any store-bought version.
In conclusion, whether you’re dealing with a routine maintenance task or facing a challenging nut that refuses to move, having the right nut splitting techniques and tools is essential. From understanding the basics to maintaining your tools, and even crafting your own, this guide has equipped you with the knowledge to handle nut splitting with confidence and safety. Keep these tips in mind, and you’ll be ready to crack even the toughest challenges that come your way.